


How to setup Git on your PC for Multiple GitHub Accounts
Most persons who use Git and have to install it, do so on PCs that belong to them hence they really do not setup Git on their systems for multiple users. However, there are some exceptions in the sense that there are folks who have more than one account on platforms, like GitHub or BitBucket, that provide hosting services for software projects using Git. Apart from this category, there are cases where two or more Git users make use of one machine.
In this tutorial, we shall discuss two things: one, how to install Git on a PC; and two, how to set up Git for multiple users or accounts on a Windows PC. Therefore, if you are only interested in the latter i.e. the second issue then kindly proceed to the “Steps to Configure Git on your PC” section below. Let’s begin with issue number one for those who need a walkthrough on how to install Git.
Steps to Install Git on your PC
As previously mentioned, skip this section if you have already installed Git on your machine.
- Download Git… using this LINK, get the Git installer from the official source where you can download for Windows, Mac and Linux. Moving forward, locate the Git installer (in case you do not already know, for Windows, installer files or packages are usually downloaded in to the Downloads folder) and run it to install Git on your machine.
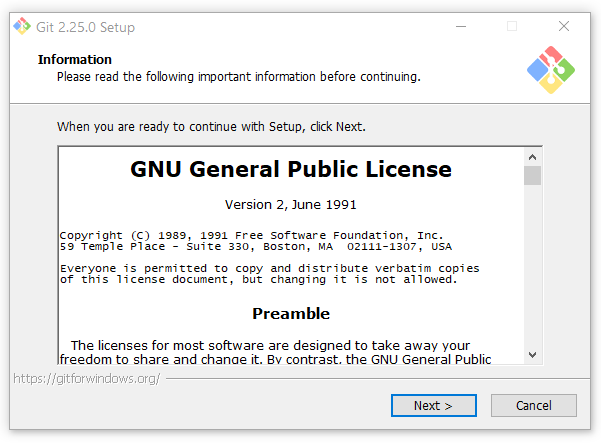
- Permit User Account Control… User Account Control activates a prompt concerning ‘Git for Windows’ asking, “Do you want to allow this app to make changes to your device.” Click on the YES button. You should now see the Information page as depicted in the image below. Click on the NEXT button.
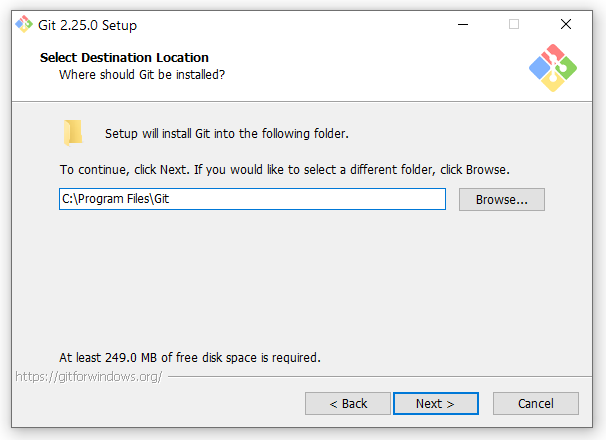
- Choose Install Location… on the “Select Destination Location” screen, you can see that the default install directory for Git on Windows is C:\Program Files\Git
If you choose to install it in another location, use the Browse button to navigate to the new directory. Now, click the NEXT button.
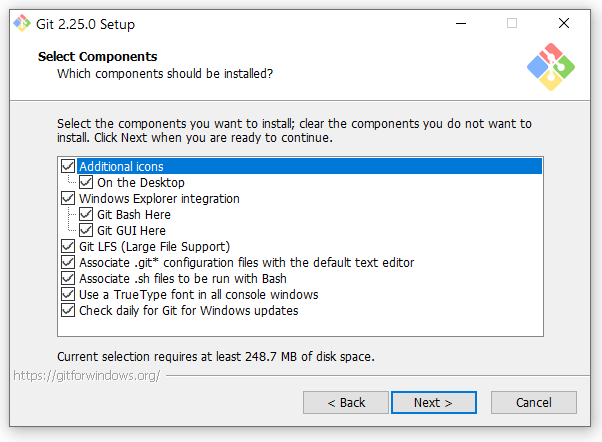
- Select Components… as you can see on the image below, the default components are shown selected. You can choose to also add other components by clicking on their corresponding checkboxes to select them. I usually check all the boxes. Click the NEXT button.
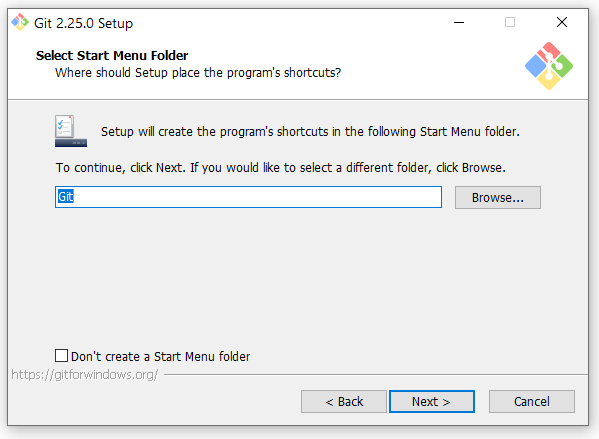
- Select Start Menu Folder… click the NEXT button.
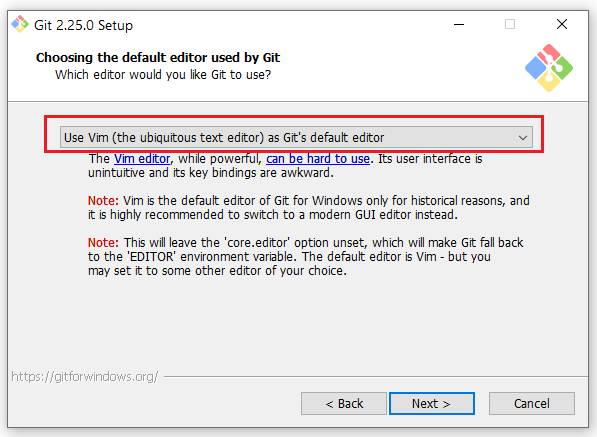
- Select Default Editor… click on the dropdown and select an option of your choice. If VS Code is already installed on your machine, you can go with “Use Visual Studio Code as Git’s default editor“; Notepad++ users can go with “Use Notepad++ as Git’s default editor” else simply go with the default option i.e. “Use Vim (the ubiquitous text editor) as Git’s default editor” option. Click the NEXT button.
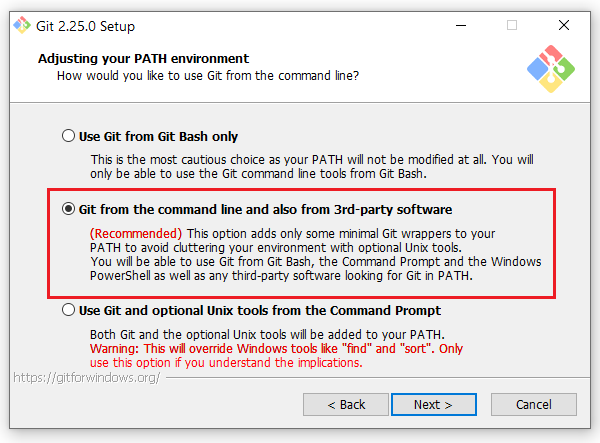
- Adjust PATH Environment… the recommended option is “Git from the command line and also from 3rd-party software“. This allows you to run Git commands from the terminal of other applications (e.g. VS Code) other than Git Bash. Therefore, ensure this option is selected before you click the NEXT button.
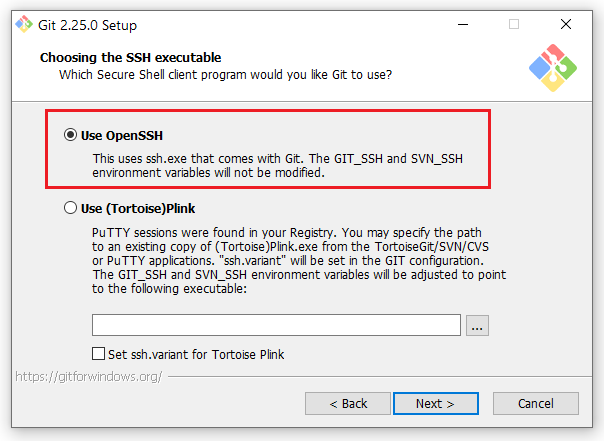
- Choose the SSH Executable… Git has a terminal tool called Git Bash which can be used to connect securely and remotely to Unix/Linux machines using Secure SHell (SSH), a software standard that supports encrypted data transfer between two computers. If this page comes up during your installation process, you can either decide to go with the default option which is “Use OpenSSH” or choose to link Git to PuTTY, that is if you have PuTTY (a secure shell client tool) installed on your machine. Click the NEXT button.
- Choose HTTPS Transport Backend… I normally go with the “Use the OpenSSL library” option. Click the NEXT button.
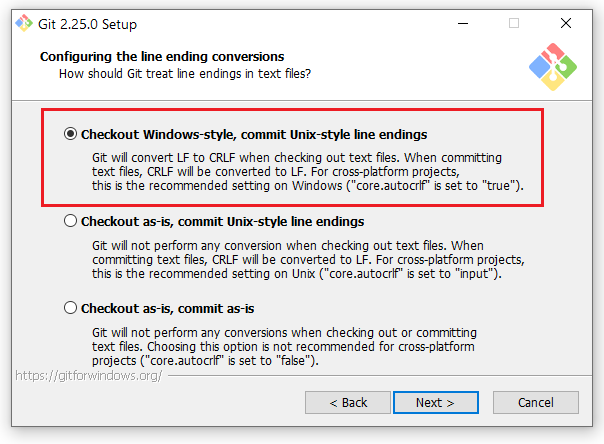
- Configure Line Ending Conversions… since we are installing on a Windows machine, select the “Checkout Windows-style, commit Unix-style line endings” option. Click the NEXT button.
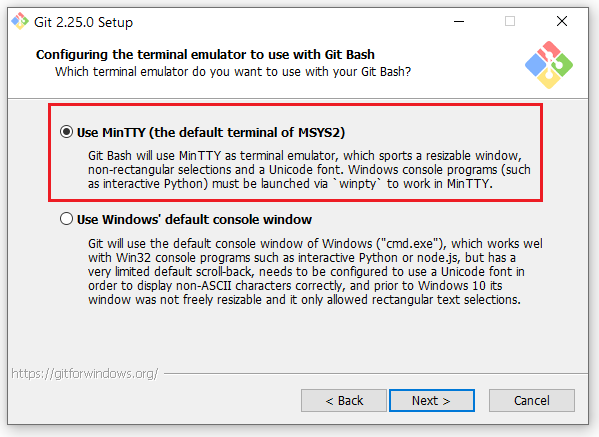
- Configure the Terminal Emulator… we mentioned before now that Git has a terminal tool called Git Bash. I generally prefer Bash to Windows command prompt. So if you choose to be like me, leave the default as already selected. Click the NEXT button.
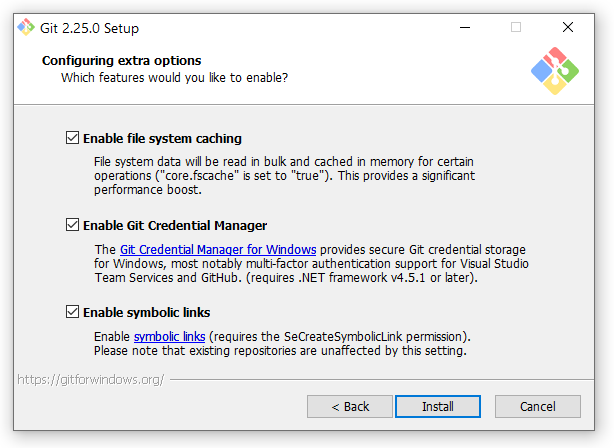
- Configure Extra Options… though I normally go with three options however of critical importance here is the second option i.e. “Enable Git Credential Manager”; this option allows for multi-user setup on one machine. This second option can only be enabled if you have installed .NET framework v4.5.1 or later on your machine. Click the INSTALL button.
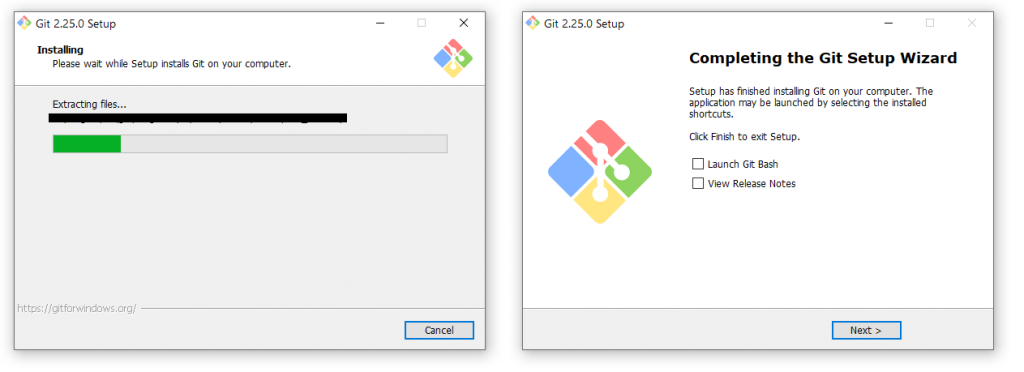
- Complete Installation… wait for a bit while the Git setup wizard runs the installation. Your screen should look like the image below on the left. When the installation is complete, you see the image on the right. Uncheck both the “Launch Git Bash” and “View Release Notes” checkboxes, and then click the NEXT button to end the process.
If you go to your Windows Start menu and type git you can confirm that Git has been installed on your machine, along with these accompanying add-ons, Git Bash and Git GUI.
What Happens When Git is not Configured for Multiple Accounts
In the second section of this tutorial, we shall see what happens when Git is not configured on a Windows machine for multiple users who need to push the contents of their local repositories to their remote repositories on GitHub or any other Git-based hosting service.
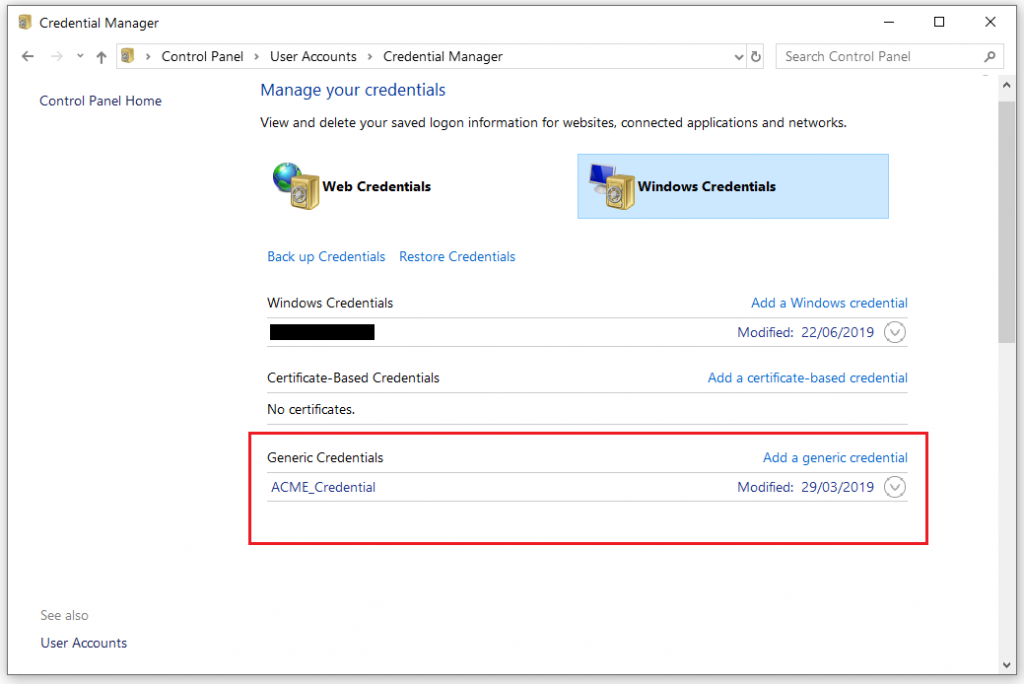
Consider a scenario… Jason has a PC running on Windows 10 and has only recently begun to learn about Git and GitHub, and their relevance to him as a budding programmer. If we were permitted by Jason to see Credential Manager on his machine, we would not find any git- or github- credential recorded under the Generic Credentials section (see the image below).
For those who don’t already know, you can open Credential Manager on your PC by doing this: press the Windows key on your keyboard, as you type Cred you should see Credential Manager returned on the menu. Another method would be to open Control Panel and on its window, search for Credential Manager.
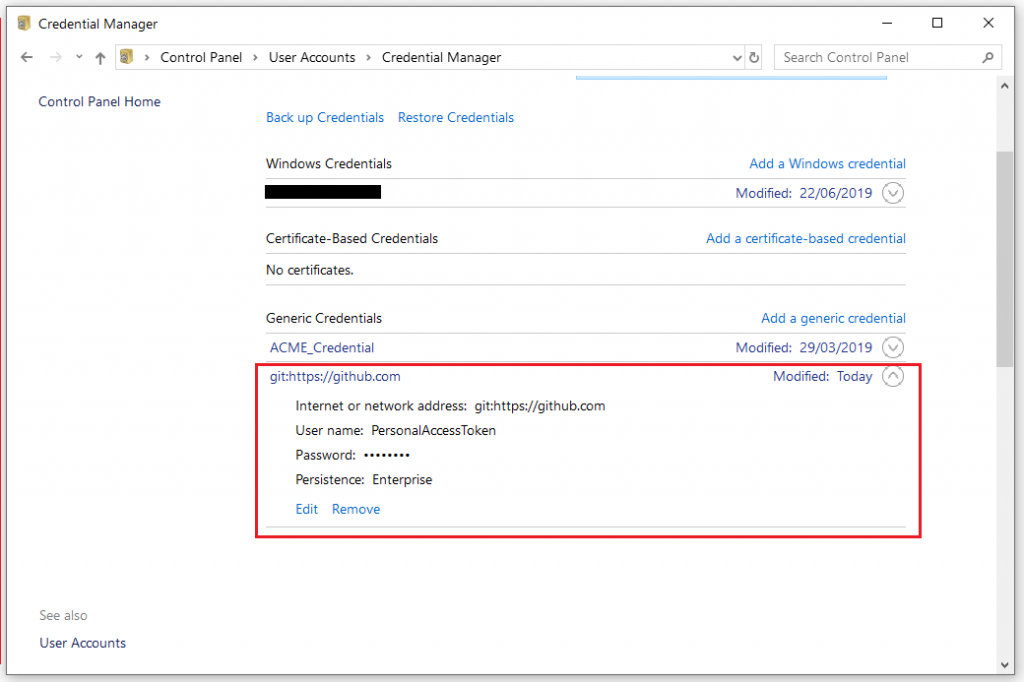
Let’s continue with our story… the first time Jason pushes a local repo of his to the corresponding remote repo in a given account on GitHub, a Personal Access Token in the form of a generic credential is created using his password for that particular GitHub account(see the image below). Notice that the credential is tied to GitHub URL and not the URL of the repo that was pushed upstream.
So long as every other upstream push he makes is to any remote repo on that particular GitHub account, he would have no issues at all whenever he runs the following command on his terminal.
git push -u origin masterHowever, if Jason (or someone else) were to attempt to push some code from a local repo on Jason’s PC up to a remote repo that is tied to another GitHub account other than the one Jason used at first, he (or that person) would get the “Permission denied” error depicted in the image below.
The requested URL returned error: 403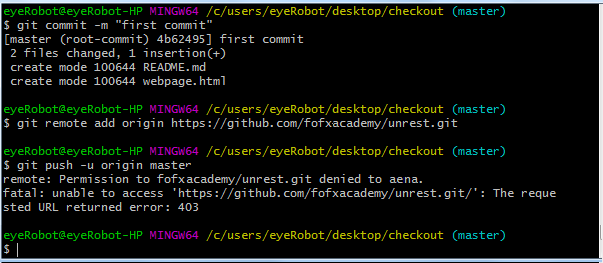
At this point, Jason (or his friend) can choose to go to Credential Manager, edit the credential there by changing the password to that of the new (or other) GitHub account he is trying to push to. Or, he could choose to delete the generic credential for github there and then, run the git push command again so Git would ask for the GitHub login credentials of the account he is trying to push to.
However, this approach can be rather cumbersome in that you have to be updating the github credentials everytime an account different from the current one on your machine is to be connected to. The preferred solution is to configure Git to allow multiple GitHub accounts on the same machine. How do we go about this? You are at the right place, kindly see below
Two Simple Steps to Configure Git for Multiple GitHub Accounts
Having seen the “Permission denied” error returned when we attempt to push to a remote repo on an account other than the one for which generic credentials have been defined on Windows Credential Manager, in the final section of this tutorial, therefore, we shall go through the steps needed to configure your Git installation for multiple user accounts.
- Enable Windows Credential Manager… open Git Bash and run the “global config list” command below and check the list that is returned if you can see this item credential.helper=wincred
git config --listNote: If the last line is a colon (:) then it means the list has more items that are not displayed, you can hit the Enter key again and again to see more items. To exit the list, use this command
:qIf you can’t see it then it means you have to add Windows Credential Manager to Git’s global configuration; this you can do by running this command on the Bash terminal.
git config --global credential.helper wincredYou can run the “global config list” command again to confirm that Windows Credential Manager has indeed been enabled on your machine.
- Enable WCM for Multiple Credentials… to enable Windows Credential Manager to store credentials for multiple accounts on a platform like GitHub, run this command:
git config --global credential.useHttpPath true
Conclusion...
Let’s get back to Jason (or his friend) who in our story thus far, ran into a permission error and then used the two steps given above to configure Git on his PC to allow connection to multiple GitHub accounts.
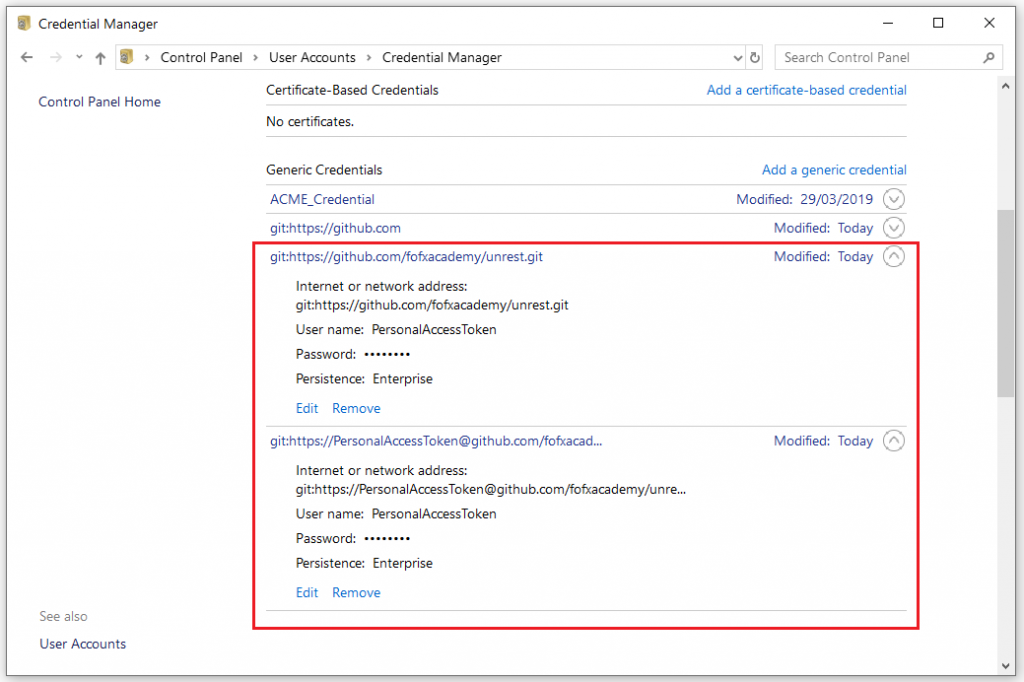
git push -u origin masterIf he runs the above push command again, he will be able to enter the credentials for the new GitHub account and then, the push operation will return as successful. If he goes to Credential Manager, he will notice that instead of Git storing a single access token tied to this URL git:https://github.com, Git now stores two credentials for every individual repo URL. See the image below.
Finally, we have come to the end of this tutorial. I trust I didn’t waste your time, and that you have learnt something that enabled you resolve whatever issue that led you to this article of mine? Well, till I come your way next time, Au revoir!!!